Every Easter basket needs one to keeps the bunnies away from the chocolate. This stuffed carrot is a great last minute project – it’ll take less than an hour.
Carrot
It’s Good for You
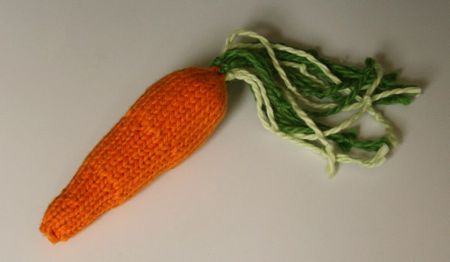
They look exotic with a bunch of different green yarns on top.
Materials: You’ll need about 20 yards of worsted in orange, miscellaneous green yarns for the carrot’s top (I used Blue Sky Alpacas Worsted Cotton), a set of 4 double pointed needles (I used US3s) and something to stuff it and a yarn needle for finishing. A safety pin to use as a marker is also handy.
Gauge: isn’t super important as long as your stuffing doesn’t show. My standard worsted toy gauge is 5sts to 1″ – that will get you a 5.5″ carrot not counting the greens.
Abbreviations: M1 means do that increase where you lift the yarn between the stitches. *blah blah blah* means do the stuff between the *s for the whole round.
Notes: If you don’t like to knit in the round, no problem. Knit it flat in stockinette, seam and stuff before you add the greens. Want a bigger carrot? Double the yarn and increase your needle size accordingly. Try braiding some of the green yarn to make the top more substantial for the big version.
Instructions
Cast on 6 stitches leaving a 4 inch tail.
Arrange stitches evenly on three needles and join to knit in the round.
Round 1: Knit
Round 2: *K1, M1, K1* (9 sts)
Round 3-6: Knit (4 rounds)
Use the cast on tail to close up the bottom of the carrot, securing it to the inside. Mark the beginning of the round with a safety pin if you need to.
I need to.
Round 7: *K1, M1, K2* (12 sts)
Round 8-13: Knit (6 rounds)
Stuff the tip.
Round 14: *K1, M1, K1* (18 sts)
Round 15-24: Knit (10 rounds)
Round 25: *K1, M1, K2* (24 sts)
Round 26-37: Knit (12 rounds)
Round 38: *K1, K2tog, K1*
Round 39: *K1, K2tog*
Round 40: K2tog around
Break yarn leaving about a 6″ tail. Using a yarn needle, pull the cast off tail through the live stitches and remove from the needles. Finish stuffing the carrot, but don’t pull up the opening.
Cut several six inch (at least) pieces of green yarn and tie them all together with an overhand knot at one end.
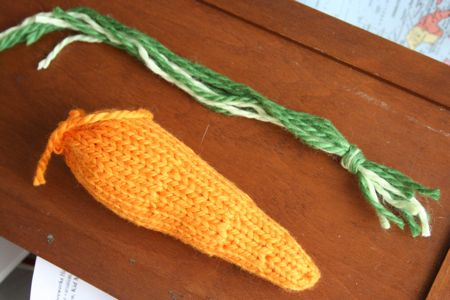
Already looks yummy!
Stuff the knotted end into the open top of the carrot, and draw the stitches up tightly.
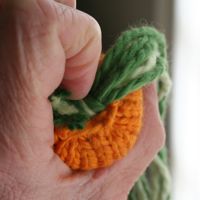
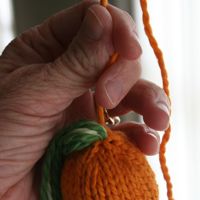
This is the only part that might be considered remotely tricky.
Use a yarn needle to run the tail through the knot several times to hold the green in place and secure the end. Hide the rest of the tail inside the carrot. Trim the green yarn to the desired length. I put knots in my carrot’s greens to give them a nice little flop and to keep them from unraveling. But that’s optional.
Feed to your bunny.

omnomnom

